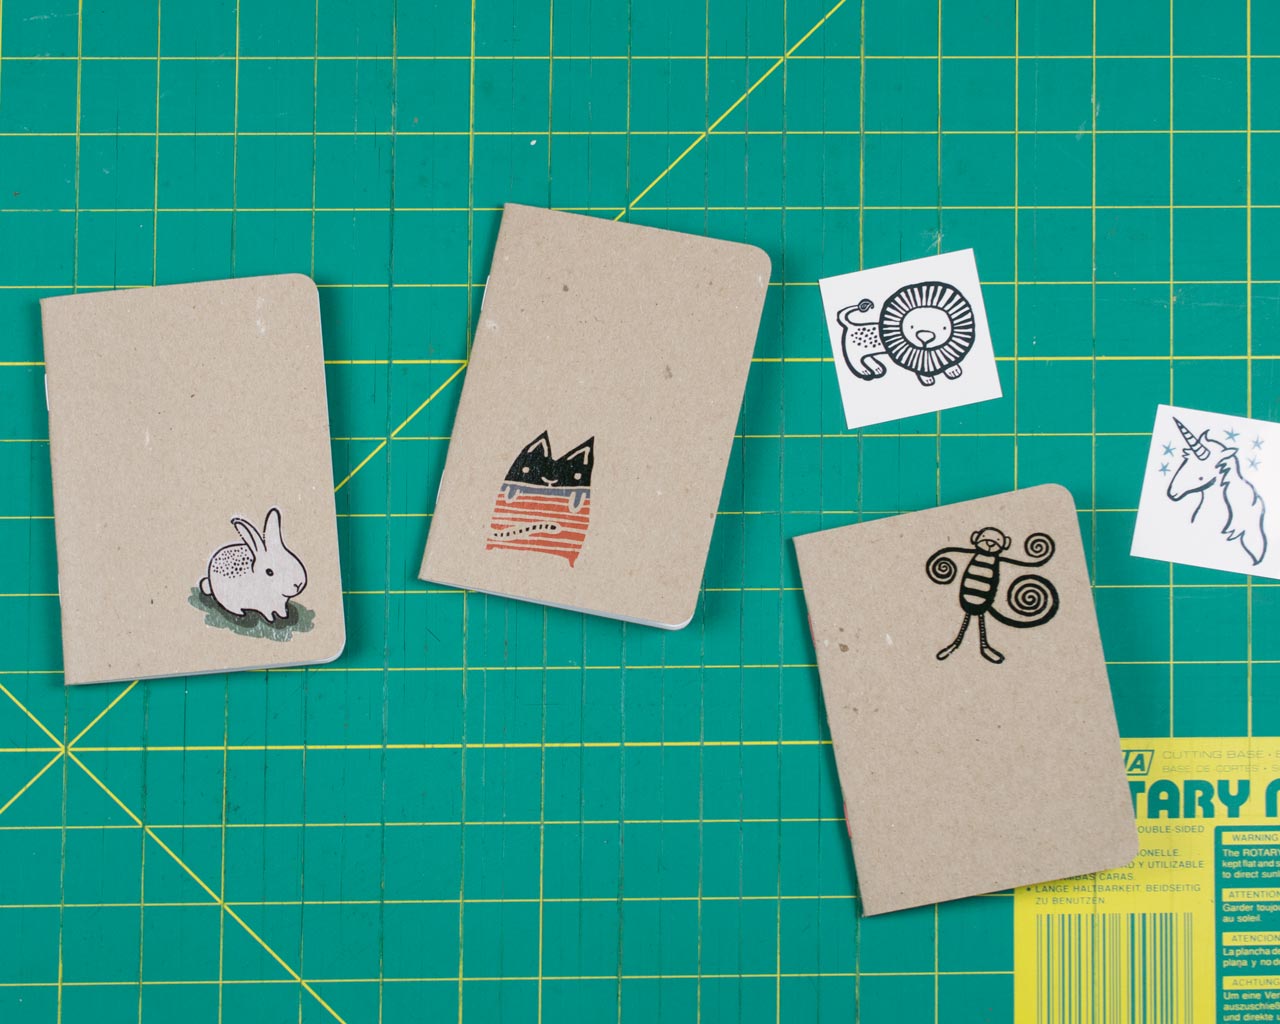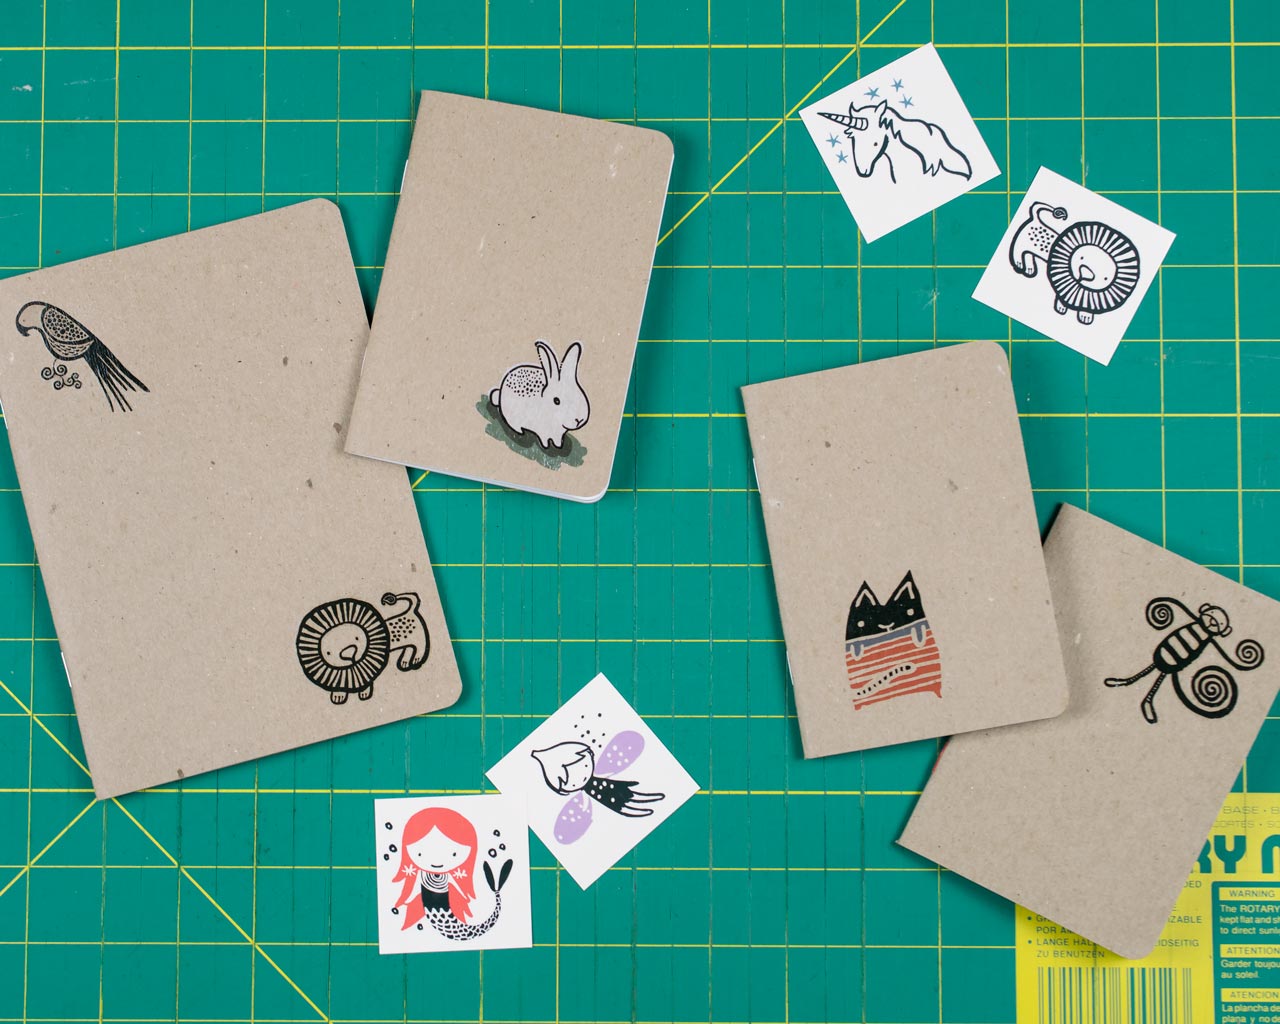
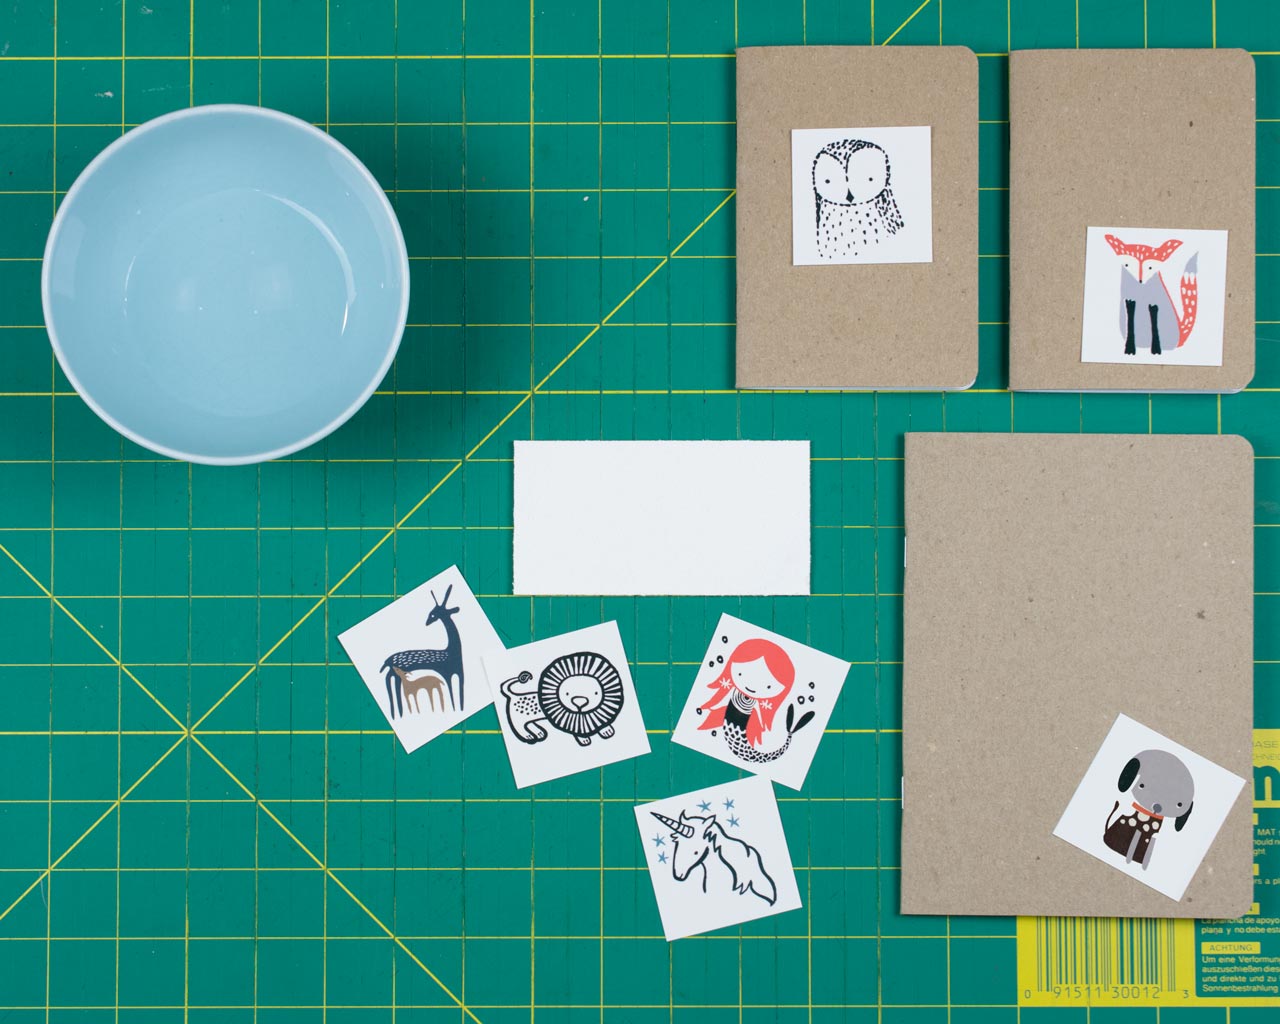
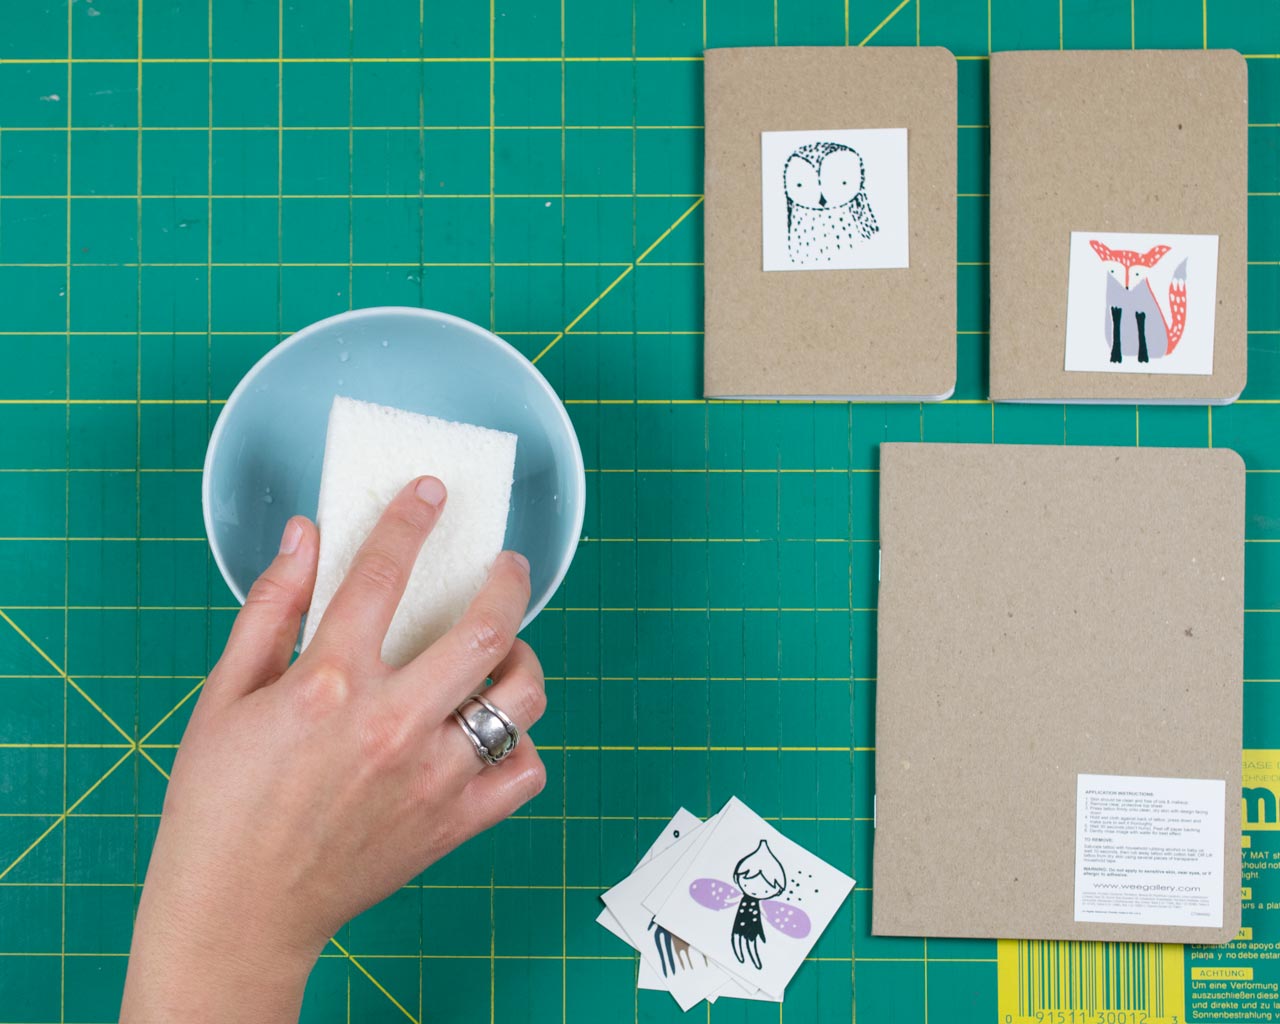
Looking for an easy way to create custom notebooks on the fly? We have just the solution: temporary tattoos. They’re affordable, come in tons of fun designs, and are easy to add to our DIY Scout Books. For this DIY guide, we teamed up with Wee Gallery, creators of stylish and thoughtful toys and clothes for kiddos – including this very clever series of custom Scout Books!
Supplies needed:
• Temporary tattoos
• DIY Scout Books
• Water
• Sponge or paper towels
Step 1:
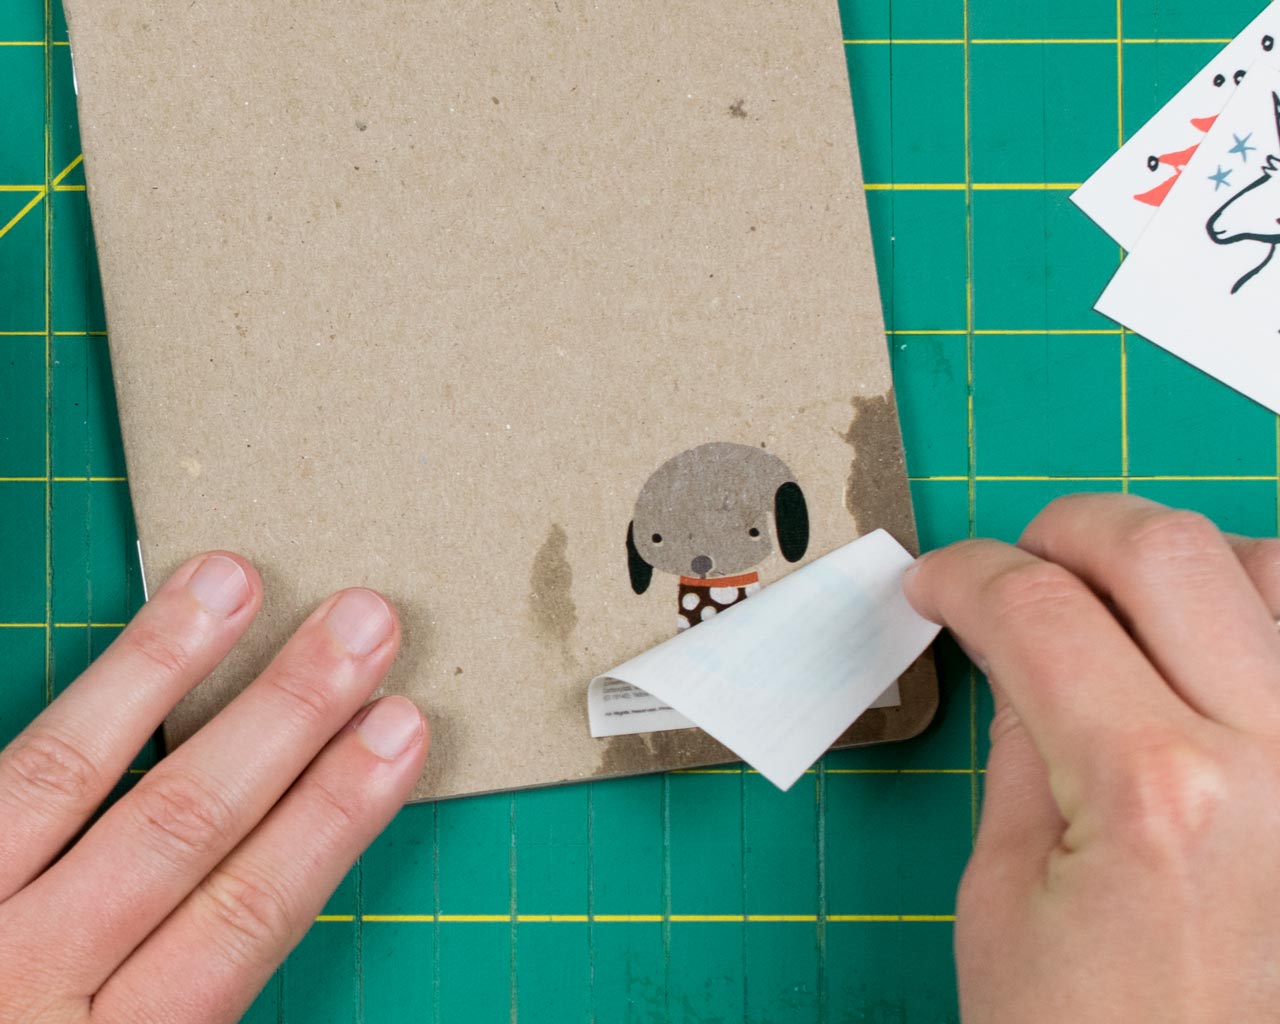
Get your sponge or paper towel wet. Not completely soaked, but don’t skimp on the water, or the tattoo won’t transfer. Peel off the clear plastic backing of the tattoo and place it, tattoo side down, onto the Scout Book.
Step 2:
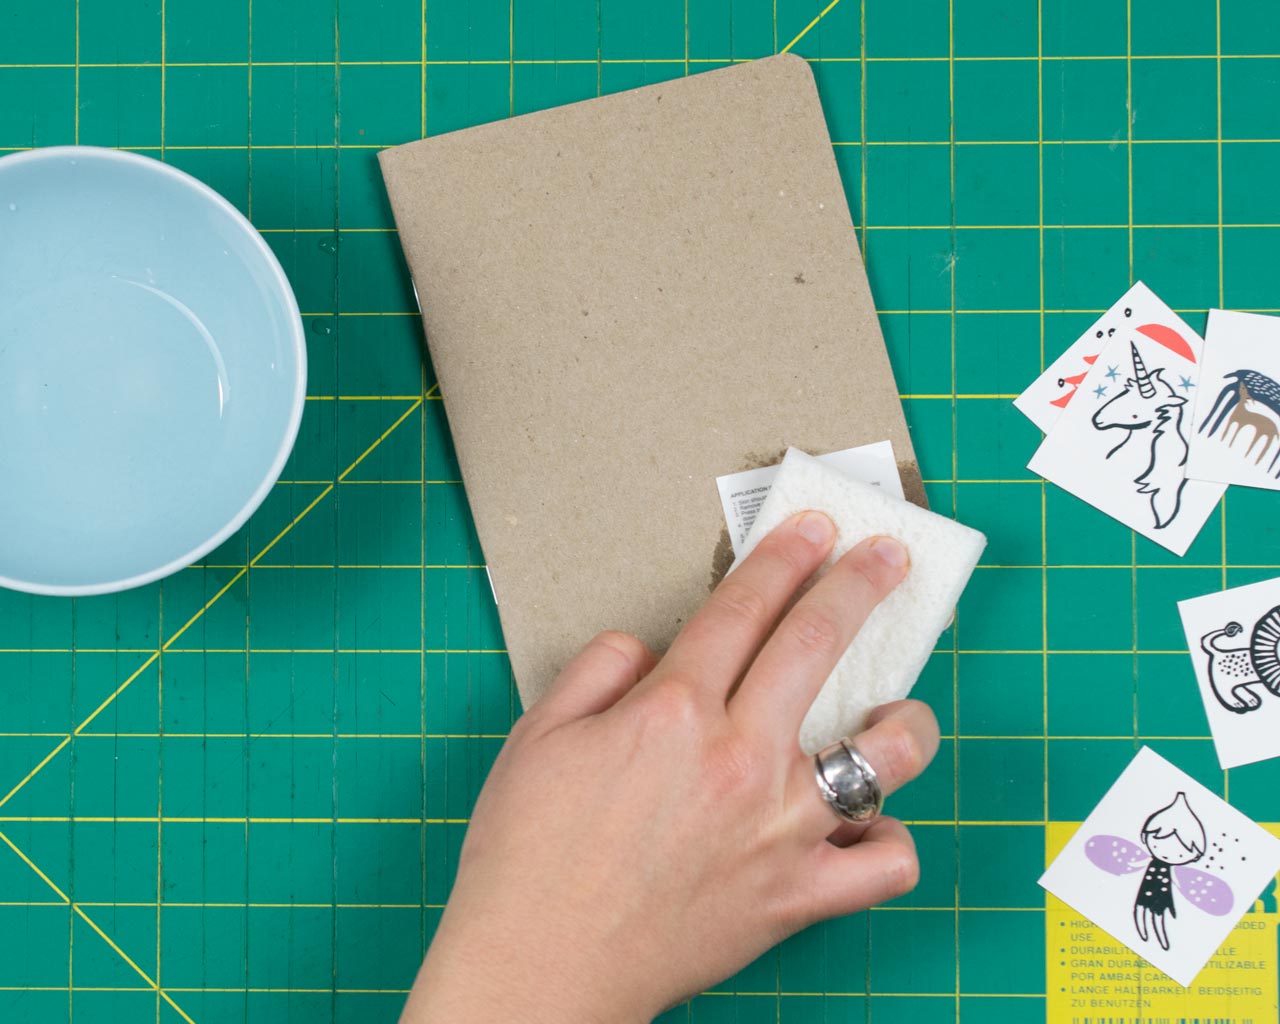
Press the sponge onto the back of the tattoo, and hold it there for 30 seconds. Don’t worry if the surrounding area gets damp, the chipboard dries out amazingly well!
Step 3:
Carefully start to peel back the edge of the tattoo. If the image isn’t sufficiently transferring to the chipboard, apply the sponge for a few more seconds. When the tattoo is removed, give the notebook and tattoo a few minutes to dry. Then enjoy your new notebook!